


How to Drill a Hole in a Tile Corner Without Cracking It
Drilling a hole in a tile corner is one of the most nerve-wracking cuts in any tile job. You're close to an edge, the glaze is slick as glass, and the bit wants to skate everywhere but where you need it. One slip and you've got a cracked tile and a trip back to the store. The good news: with the right bit and the right technique, a clean corner hole comes down to two things. Low speed and light pressure. Here's exactly how to do it.
Why Tile Corners Are So Hard to Drill
The hard part isn't the tile body, it's the glaze. That glossy surface is fired hard and slick, and a spinning bit has nothing to grip. Out in the open field of a tile, a little wandering isn't a big deal. But near a corner or edge, you don't have room to spare. The bit walks, the tip catches the lip of the tile, and the stress fractures it right where it's weakest.
Beat the glaze first and the rest of the hole is easy. That's the whole game.
Break the Glaze First — Before the Drill Is Even On
Here's the step most people skip: you break the glaze before you start drilling, and you do it with the bit not spinning. Don't pull the trigger yet.
Rest the tip of the bit on your mark and rotate the bit slightly by hand, working with just the very point. You'll actually hear the glaze start to crack. That sound means you're scoring through the glossy layer and into the tile body underneath. That cracked spot becomes your anchor: a planted place for the bit to sit so it can't wander or skate toward the corner once you do power up.
Now Set the Drill to Low Speed and Pulse Through
With your starting spot scored, set the drill to low speed, and now you can start drilling. Keep it slow and pulse the bit: short on-off taps of the trigger rather than one continuous push. Pulsing clears the cut and keeps you from forcing the bit through the hardest part of the glaze all at once.
The most important thing here is to keep the pressure light. Let the bit do the work for you. Leaning on the drill doesn't make the hole faster. It makes the tile more likely to crack and dulls your bit. Easy hands win.
Once You're Through, Pick Up the Speed
The moment you feel the bit break through the glaze and into the body of the tile, you can increase your RPMs a little. The risky part is behind you. Keep that same light pressure and let the bit carry itself the rest of the way through. That combination, a touch more speed and still-gentle hands, gives you a clean hole without blowing out the back of the tile.
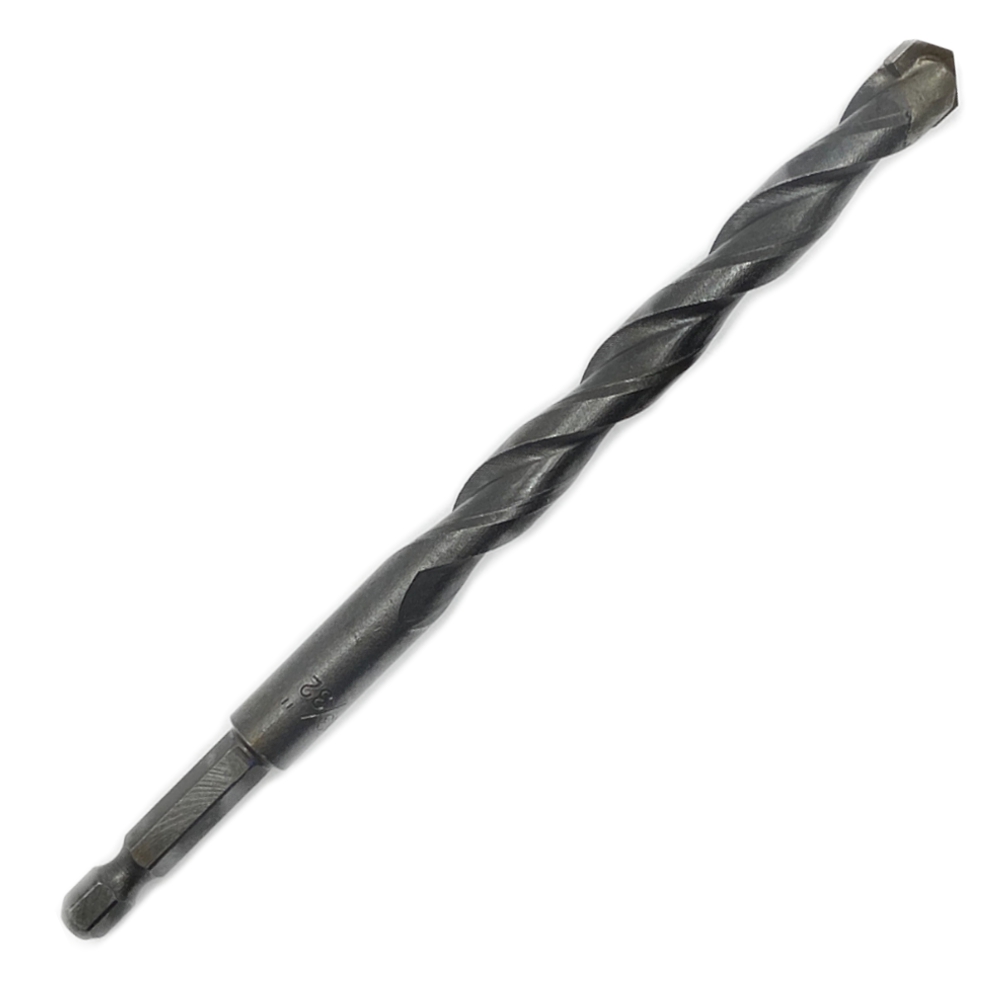
A Sharp Bit Does Half the Work
None of this works with a dull bit. A sharp tip is what lets you run light pressure and still cut. A worn bit forces you to push harder, which is exactly what cracks corners. You want to go into every hole with a sharp bit.
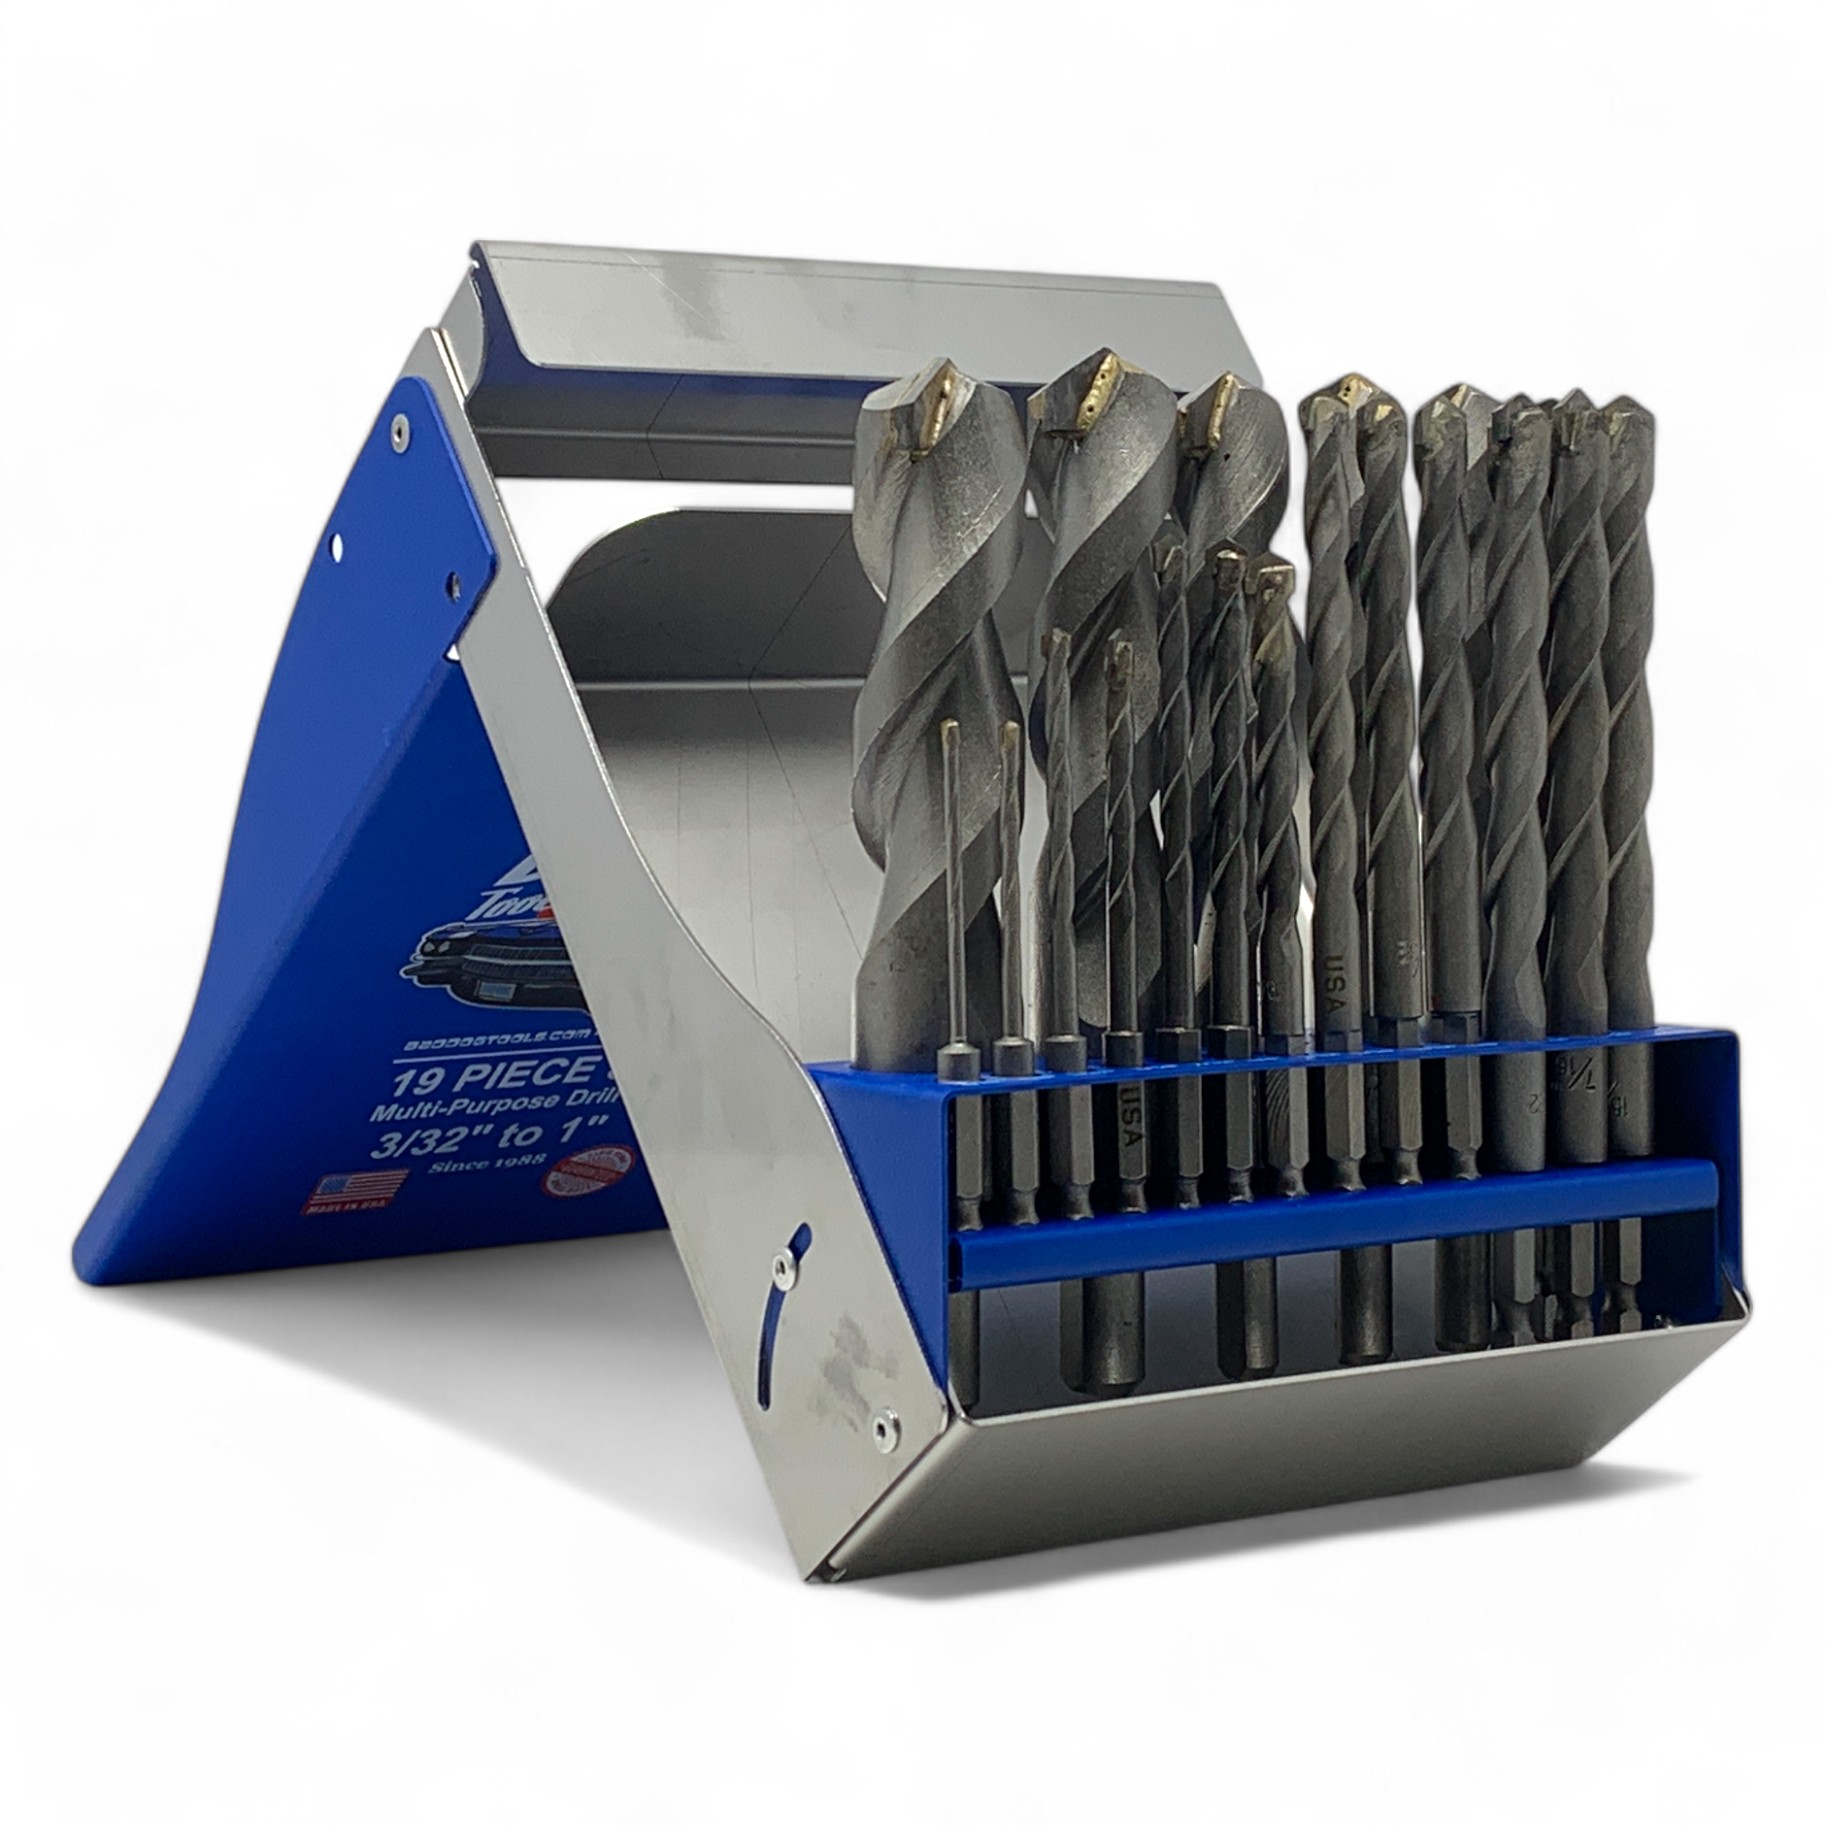
That's where the Bad Dog Multi-Purpose Drill Bits earn their keep. They're built to drill tile, masonry, metal, and more, and unlike most multi-material bits, they're easy to sharpen yourself. Pair them with the Bad Dog Diamond Drill Sharpener and you can put a fresh edge on your bit at the bench in seconds, so you're never starting a delicate corner cut with a tired tip.
Quick Reference: Drilling a Tile Corner
| Break the glaze FIRST | Bit not spinning — rotate by hand until it cracks |
| Then set speed | Low — start drilling only after the glaze is scored |
| Pressure | Light, the whole way through — let the bit work |
| Through the glaze | Pulse the trigger, don't push |
| After breakthrough | Bump RPMs up slightly, keep pressure light |
| Center of a tile? | Far more forgiving — medium RPM, drill straight in |
| Every hole | Start with a freshly sharpened bit |
Center-of-Tile Holes Are the Easy Cousin
Worth noting: everything above is for the tough case. If your hole lands in the center of the tile, away from any edge, you don't have to be nearly as careful. There's plenty of material around the hole to absorb the stress, so you can go in with medium RPMs and make holes nice and quick. Save the slow-and-light routine for the corners and edges where it counts.
Drill Tile Corners With Confidence
A cracked tile in the corner is almost always a speed-and-pressure problem, not a you problem. Go low, go light, break the glaze first, and keep a sharp bit in the chuck. That scary corner hole turns into a thirty-second job.
Bad Dog Tools has been making drill bits in the USA since 1988. Over 6 million of them. And every Bad Dog bit is backed by a lifetime guarantee. Family-owned for three generations. Less Bark, More Bite.
Go Into Every Hole With a Sharp Bit
Bad Dog Multi-Purpose Drill Bits cut tile, metal, and masonry — and resharpen at the bench. Backed by our lifetime guarantee.
SHOP MULTI-PURPOSE DRILL BITSFrequently Asked Questions
What speed should I use to drill a tile corner?
Break the glaze first with the bit not spinning, then drill at low speed and increase your RPMs slightly once you're through the surface. Scoring the glaze before you power up is what keeps the bit from skating near the edge.
How do I keep the drill bit from sliding on the tile?
Before you turn the drill on, rest the bit on your mark and rotate it by hand until you hear the glaze crack. Breaking the glaze with a non-spinning bit gives it a planted spot to sit so it can't wander toward the corner.
Why does my tile keep cracking when I drill near the edge?
Usually too much speed, too much pressure, or a dull bit. Corners have little material to absorb stress, so use light pressure throughout and let a sharp bit do the work instead of forcing it.
Do I need a special bit to drill ceramic and porcelain tile?
You need a sharp, hard-tipped bit rated for tile and masonry. Bad Dog Multi-Purpose Drill Bits handle tile, metal, and masonry, and they're easy to resharpen with the Bad Dog Diamond Drill Sharpener so every hole starts sharp.
Written by Joseph Strong on 20th May 2026 I’m JJ Strong, a mechanical engineer and third-generation tool designer at Bad Dog Tools, our American-made, family-run company built on durability and innovation. I grew up hauling booths and talking tools at trade shows before I could even drive. Now I design and build and improve our next generation of lifetime-guaranteed tools - our custom induction brazing system to our precision sharpening technology. On weekends, you’ll find me restoring my ’86 Land Rover Defender or ’54 Jaguar XK120 and seeing just how much I can build (or break) with Bad Dog Tools.