


")
How to Drill Porcelain Tile (Without Destroying Your Bit)
Ask any contractor what jobs they dread, and drilling through porcelain tile is on the short list. The bit gets hot, the tile fights back, and half the time you end up with a cracked tile, a dead bit, or both. Then you flip the bit out and switch to something else just to get through the wood or block behind it.
Here's the good news: how to drill porcelain tile isn't complicated once you understand what's actually happening at the cutting tip, and you don't need three bits to do it. You need one technique and one bit that can handle porcelain, wood, and concrete block in a single pass.
Why Porcelain Tile Destroys Most Drill Bits
Standard glass-and-tile bits are built for ceramic and softer, more forgiving stuff. Porcelain is a different animal. It's denser, fired hotter, and far more abrasive. Run a traditional spear-point glass bit at it and the tip rounds off in seconds. Push harder, and the tile cracks instead of being drilled cleanly.
That's why porcelain tile drilling jobs eat so much shop time. You're either burning through cheap bits, swapping to a diamond core (and waiting for water-fed cooling rigs), or chipping out the tile face and starting over.
The Heat Problem Nobody Tells You About
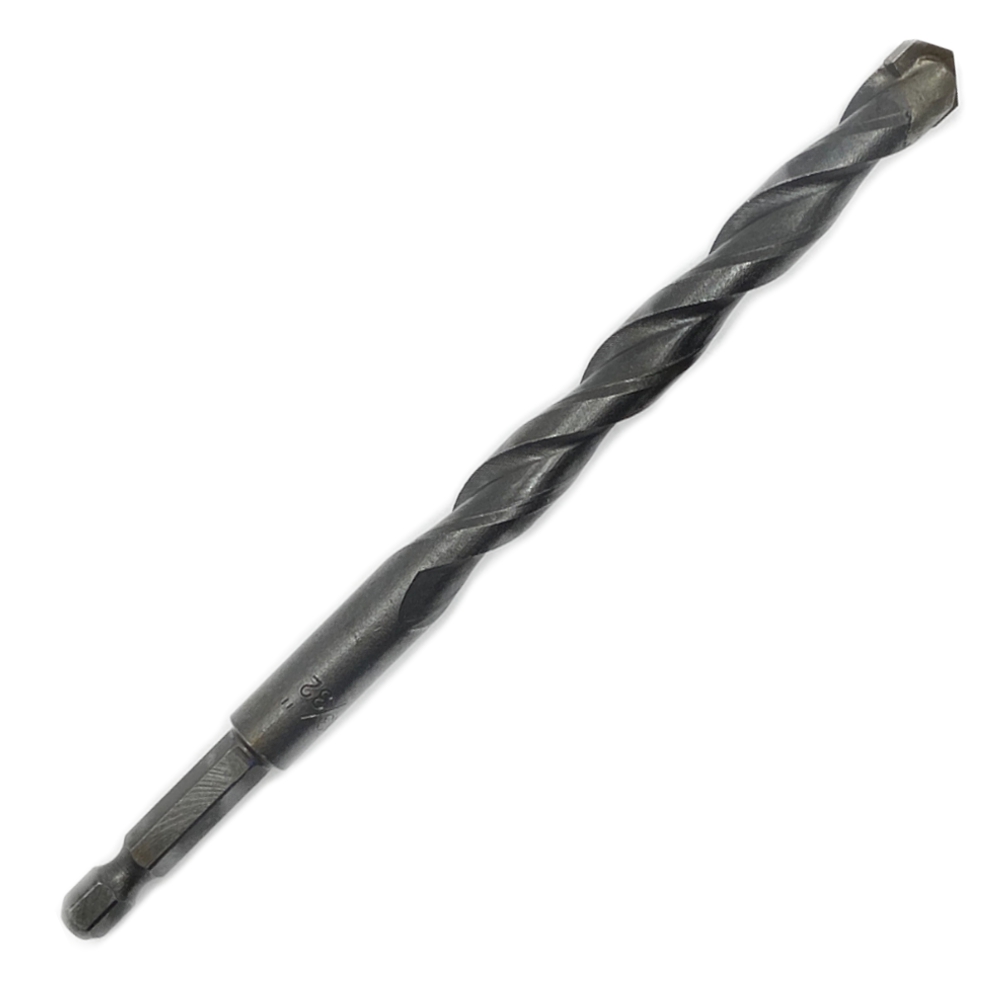
Here's the part most guides get wrong. They'll tell you to drill slow because heat is bad for your bit. With a Bad Dog Carboloid tip, heat isn't the bit's problem. It's brazed at high temperatures and built to take it.
The heat is bad for the porcelain.
When porcelain tile gets too hot at the contact point, it actually reglazes. The surface re-fuses, gets harder than it was when you started, and now you're trying to drill through a material that has effectively upgraded itself mid-job. That's why the technique below matters: you're not protecting the bit, you're stopping the tile from making your life worse.
How to Drill Porcelain Tile, Step by Step
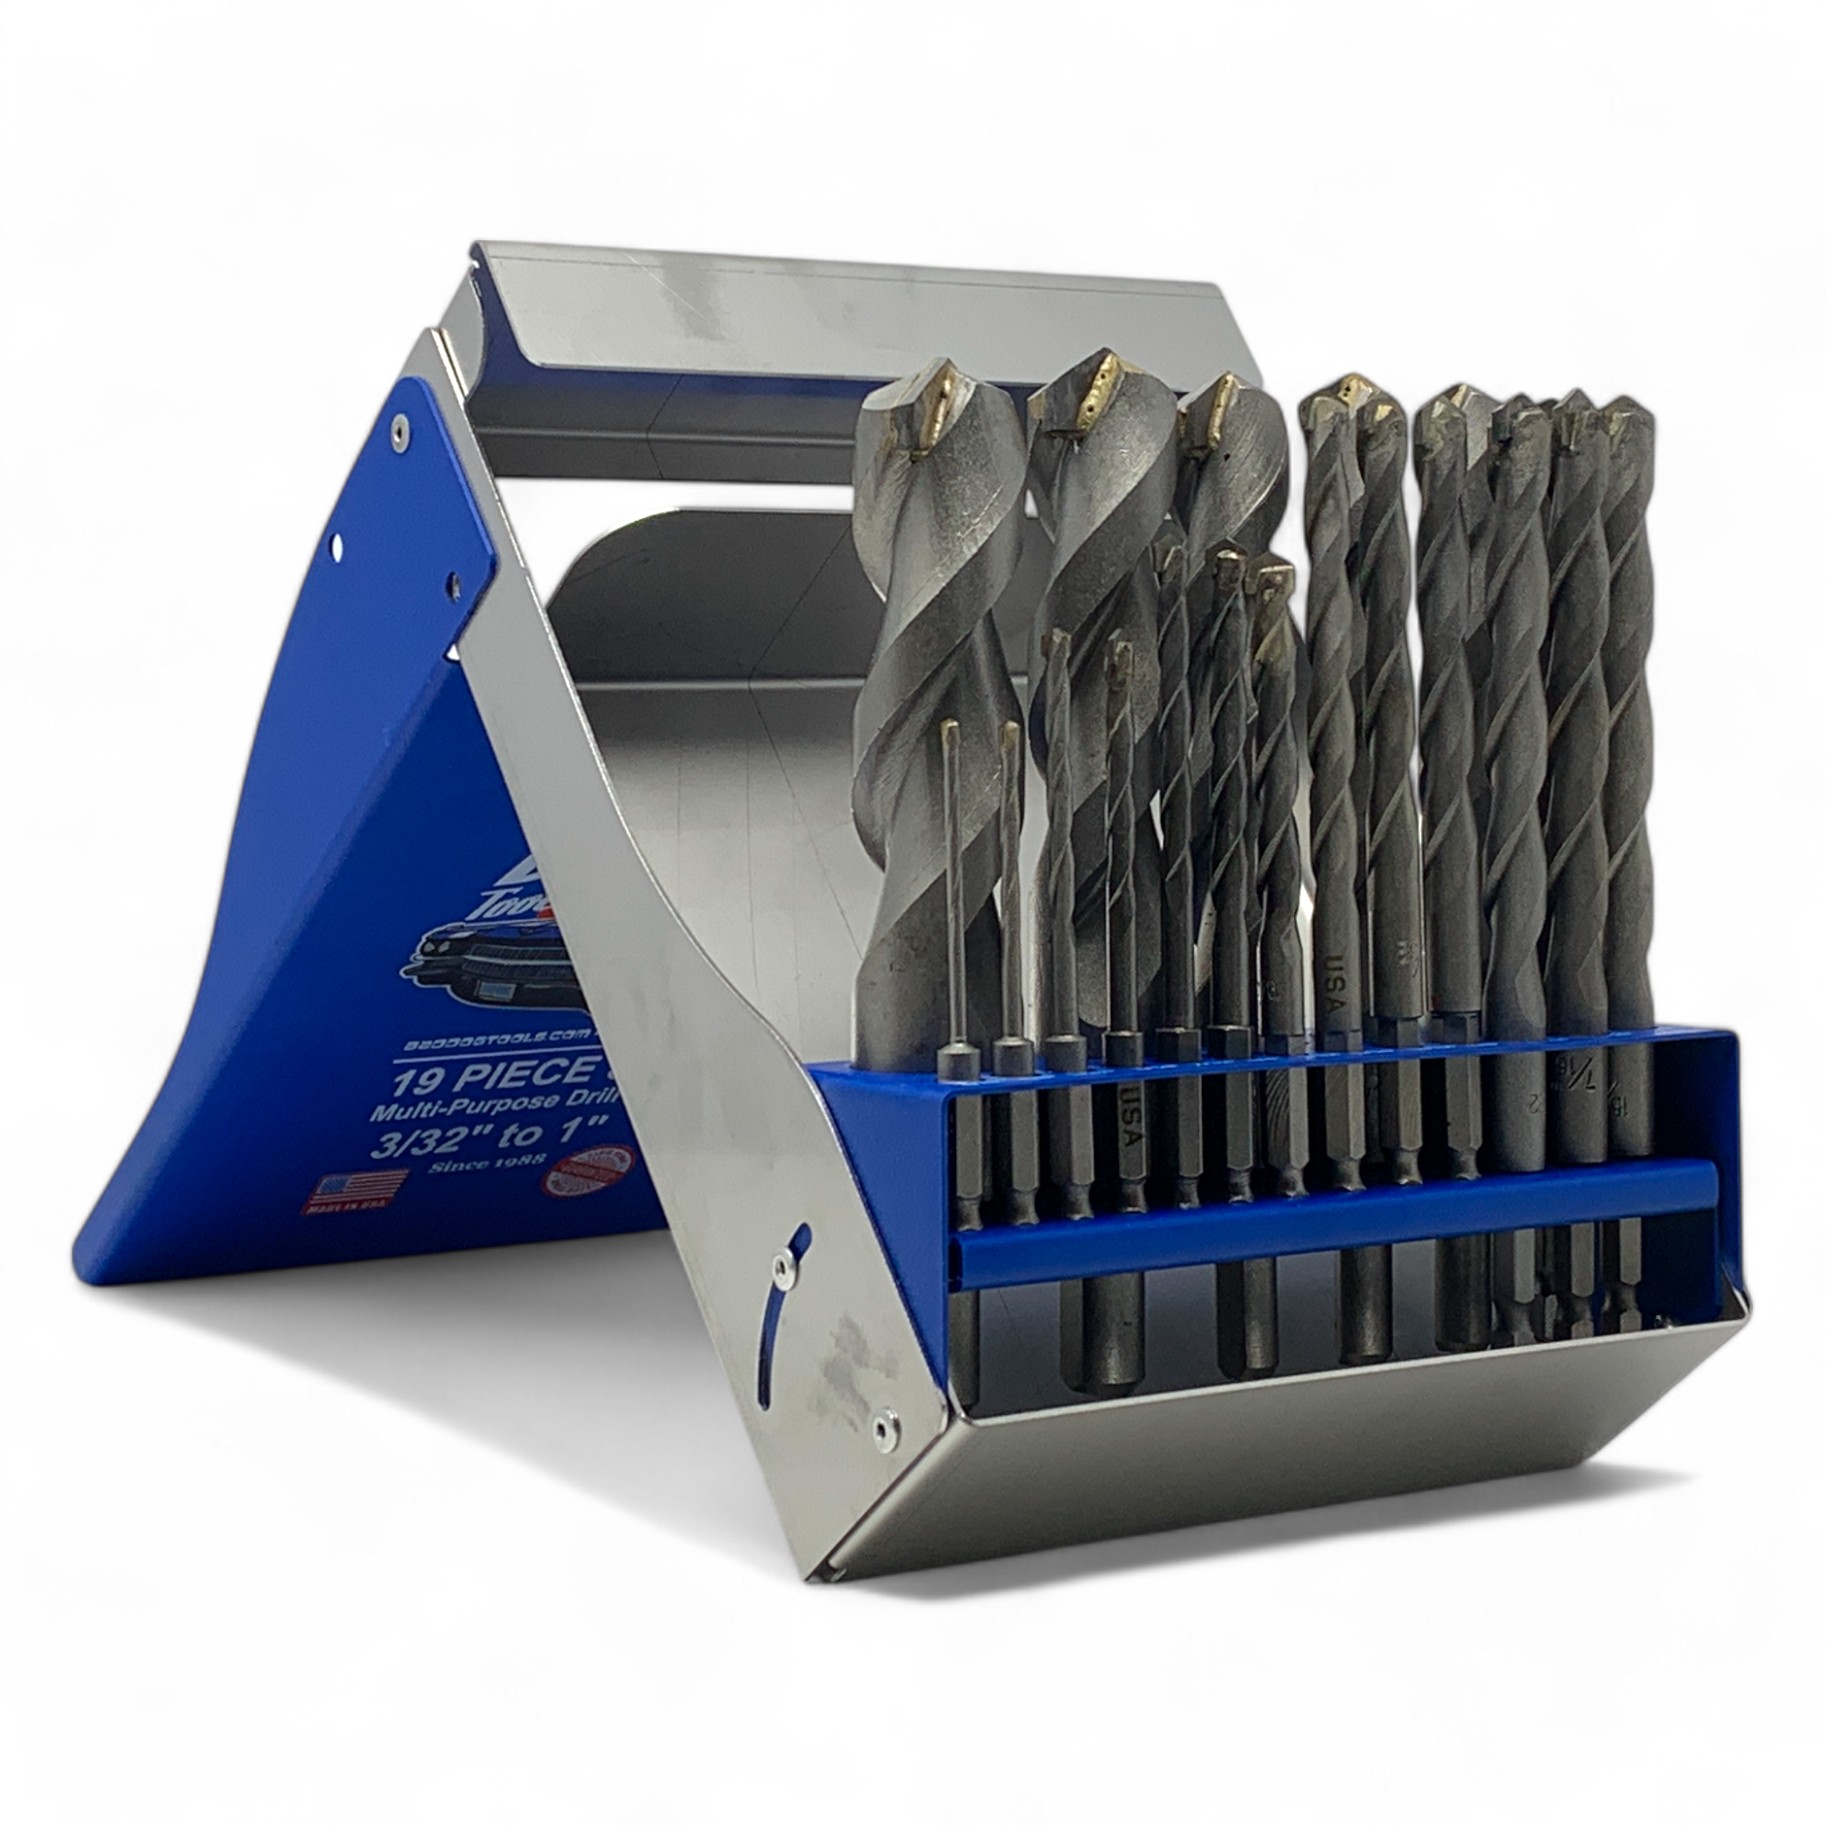
A 14-piece Bad Dog Multi-Purpose Drill Bit set handles porcelain, wood, and masonry on the same bit, no swap, no second tool. Here's the technique:
- Mark your spot. A small piece of painter's tape over the drill point keeps the bit from skating on the glaze.
- Set your drill to standard rotation — not hammer mode. Hammer drilling will crack porcelain, full stop. You want rotation only.
- Start at low to medium speed. Begin slow to score the glaze cleanly. Once you've broken through the glazed surface, you can hold steady speed through the body of the tile.
- Apply medium, steady pressure. Let the bit do the work. Pushing harder doesn't drill faster — it heats the tile and risks cracking.
- Keep the contact point cool. A spritz of water from a spray bottle, or pulling the bit out every few seconds to clear dust, is enough. You're managing the tile's temperature, not the bit's.
- Drive through the substrate. Once you're past the tile, the same bit punches into wood, drywall, or concrete block behind it. No swap, no second pilot hole.
That's it. One bit, porcelain to substrate, in one go.
Quick Reference
| Setting | What to do |
|---|---|
| Drill mode | Rotation only — never hammer |
| Speed | Low to medium (start slow, hold steady) |
| Pressure | Medium and steady — let the bit work |
| Cooling | Light water spritz or pull-out clearing |
| Bit | Bad Dog Multi-Purpose (Carboloid tip) |
One Bit, Many Materials
The reason a Bad Dog multi-purpose bit handles porcelain, wood, and concrete block is the Carboloid tip itself: carbide, titanium, and cobalt brazed at high temperature to an armored steel shank. It's not a tile bit pretending to be a wood bit, or a masonry bit forced into tile work. It's built to file through whatever you put in front of it, which is exactly what a remodel job demands.
For the contractor running shower valves, mounting grab bars, or setting wall anchors over tiled walls, that means one bit on the driver, not three. For the homeowner finally hanging that floating shelf in the master bath, it means you don't buy a glass bit, snap it, drive back to the store, and try again.
Pro Tips from 40+ Years of Drilling
A few things we've learned making drill bits since 1988 (over 6 million produced and counting):
Don't use hammer mode on tile. Ever. Hammer action is for masonry behind the tile — turn it on after you're through the porcelain face if you're going deep into block.
If the tile starts smoking or you smell glaze burn, stop. Let it cool ten seconds and clear the dust. You're past the heat threshold and the tile is reglazing.
A dull bit makes everything worse. If you've been beating on a bit for a year, retire it. Bad Dog bits carry a lifetime guarantee — send it back, we'll repair or replace it.
STOP FIGHTING PORCELAIN TILE.
The 14pc Bad Dog Multi-Purpose Drill Bit Set drills porcelain, wood, and concrete block on a single bit — backed by our lifetime guarantee. Made in USA since 1988.
SHOP THE 14PC MULTI-PURPOSE SET →Questions? Call 800-252-1330
Frequently Asked Questions
Can you use a regular drill bit on porcelain tile?
No. Standard twist bits are for metal and wood, and they'll skate, smoke, and burn out instantly on porcelain. You need a carbide-tipped bit designed to handle hard ceramics. A Bad Dog multi-purpose bit qualifies, a hardware-store glass-and-tile bit usually doesn't.
What speed should I drill porcelain tile at?
Low to medium. Start slow to break through the glaze cleanly, then hold steady. The goal is to keep the tile cool. Too much heat at the contact point causes the porcelain to reglaze and harden.
Do I need to use water when drilling porcelain tile?
A light water spritz from a spray bottle helps a lot, but it's not always required. You can also pause every few seconds to let the dust clear and the contact point cool. Both methods manage the heat that would otherwise reglaze the tile.
Can one drill bit go through porcelain tile and the wall behind it?
Yes, that's exactly what a Bad Dog Multi-Purpose Drill Bit is built for. The Carboloid tip handles porcelain, wood, drywall, and concrete block on the same bit, so you don't have to swap mid-hole.
Why does my porcelain tile crack when I drill it?
Three usual culprits: hammer mode is on (turn it off), you're pushing too hard (ease up), or your bit is dull and forcing the tile instead of cutting it. Steady medium pressure with a sharp Carboloid-tipped bit avoids all three.
Written by Joseph Strong on 29th Apr 2026 I’m JJ Strong, a mechanical engineer and third-generation tool designer at Bad Dog Tools, our American-made, family-run company built on durability and innovation. I grew up hauling booths and talking tools at trade shows before I could even drive. Now I design and build and improve our next generation of lifetime-guaranteed tools - our custom induction brazing system to our precision sharpening technology. On weekends, you’ll find me restoring my ’86 Land Rover Defender or ’54 Jaguar XK120 and seeing just how much I can build (or break) with Bad Dog Tools.